| Restoration
clock images for larger pictures |
||
| < Home | ||
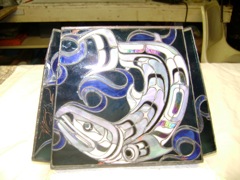
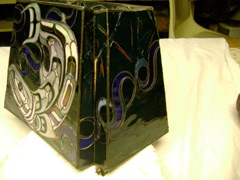
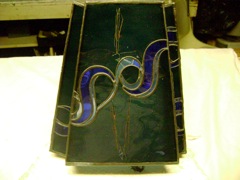
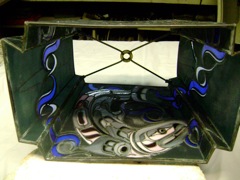
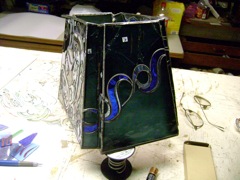
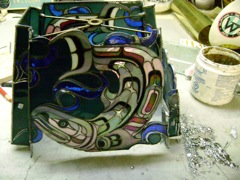
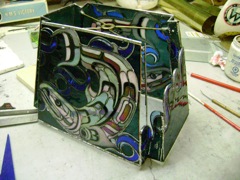
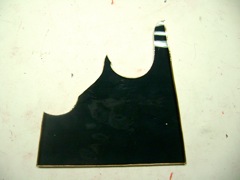
| At first I wasn't sure, but now I'm positive, this is the lamp that was described from it's beginning to completion. |
|
|
| It was knocked off of a podium onto a very hard floor and was deemed non-repairable by the studios in the client's location. | ||
| I appreciate how those studios might have deemed it non-repairable do to the extent of damage to both the glass in the lamp and the chaise. |
|
|
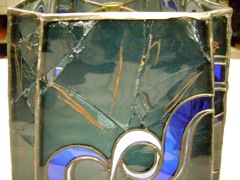
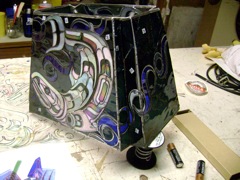
| All sides of the lamp were effected by the nature of the impact. | ||
| Some of the failures were to be expected, but I was surprised by the fact that the thinest elements that should have been effected weren't. |
|
|
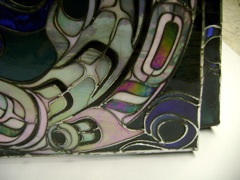
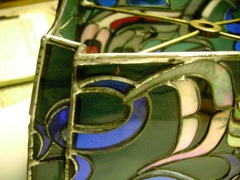
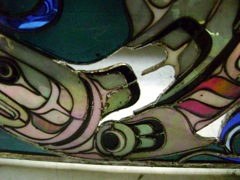
| The impact site wasn't hard to discern from the extent of damage on this corner. | ||
| This corner took the biggest amount of damage, causing the chaise to twist as fell. |
|
|
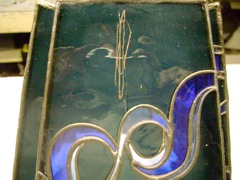
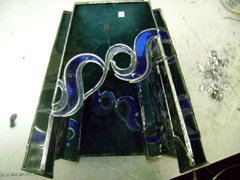
| The energy of the impact seems to have been absorbed by the turn in the planes of the lamp. | ||
| The red pen marks indicate the location of breaks all around the lamp. |
|
|
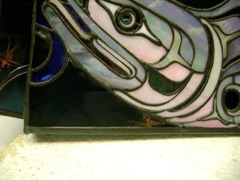
| All the glass nearest to the impact site, understandably, failed. But, all the elements below the impact site were spared. | ||
| The lack of the energy transferring to the face plate and dissipating on the impact site pleased me to know that all of the measures to help strengthen my lamps, worked. |
|
|
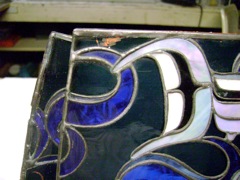
| Minor but understandable failures on the face plate. | ||
| These failures were at the opposite end of the impact site and absorbed the direct flow of the generated energy of the fall. |
|
|
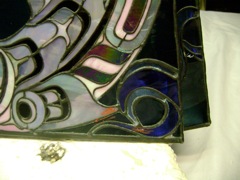
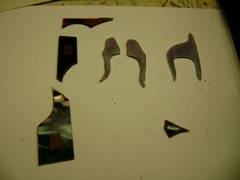
| This small failure could have been worse, but to lose just a tip of a piece in a very congested pattern, lucky. | ||
| The balance of this piece was intact except for, yet another tip. |
|
|
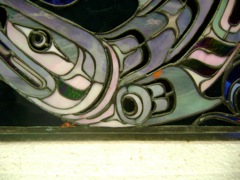
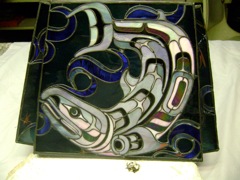
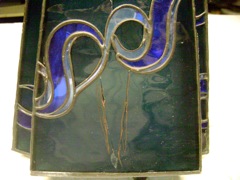
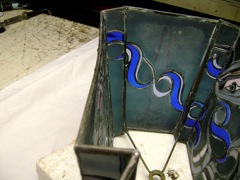
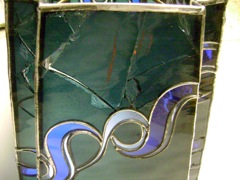
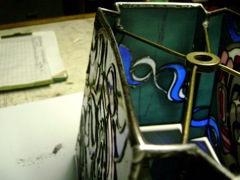
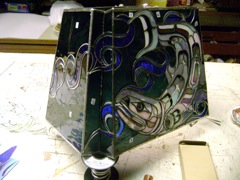
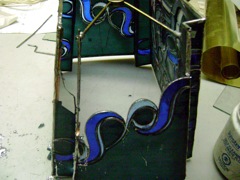
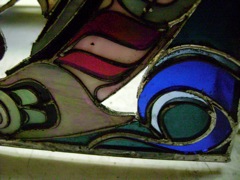
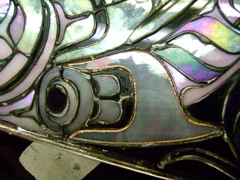
| The top and bottom failures didn't surprise me, but for the thin details of the wave to have survived, was unexpected. | ||
| How the energy of the break to halt where most other shapes of this nature, would have and should have failed. Again, I was pleased at the strength values inherent to it's construction. |
|
|
| Above and below the wave action there were failures; but not through. | ||
| Another tip failure coming from where both top and bottom pieces had failed. |
|
|
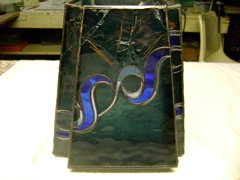
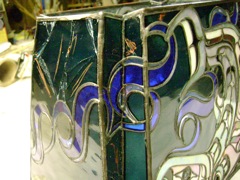
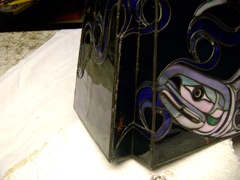
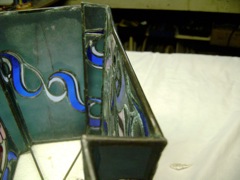
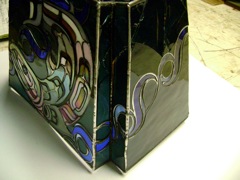
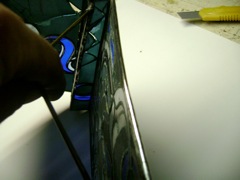
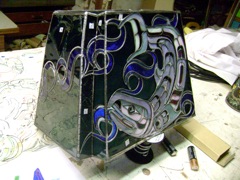
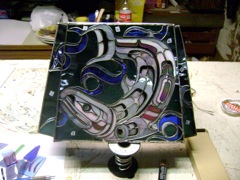
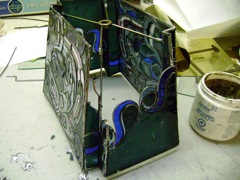
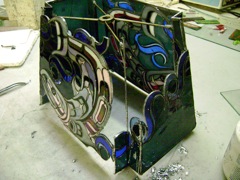
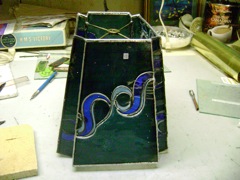
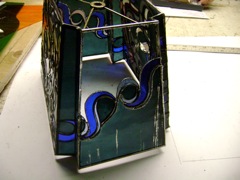
| Notice how both leading edges of the lamp are curved, but it was built as straight as could be. It would appear that the superstructure did it's thing to halt or absorb the energy of the impact. | ||
| Even with such a huge deviation from what was supposed to be straight, only a couple tips failed. It's no wonder that the breaks that did occur, could easily have been worse. |
|
|
| Both sides of the lamp received bends in the superstructure, which had to have been involved with arresting a lot of the energy that helped save many more pieces from breaking. | ||
| These breaks in the face plate, could easily have been over looked during the repair, but in for a penny. |
|
|
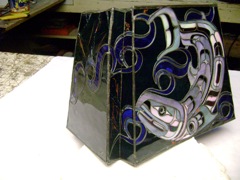
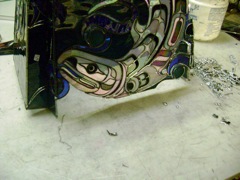
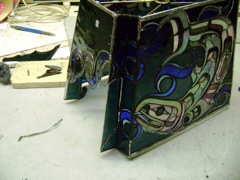
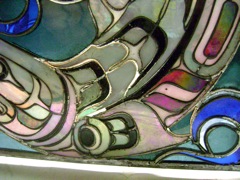
| This is a shot after the repair had been done. | ||
| After having repaired the faceplate, I turned my attention to the edges. |
|
|
| You can see at the top edge, where the impact site is, for that kind of damage to have occurred. | ||
| Considering the proximity to the impact site, the face plates were only just affected. |
|
|
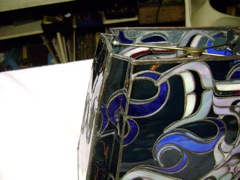
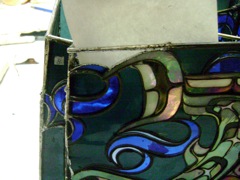
| The chaise is twisted and the immediate pieces have failed, but just around the corner, an expected break Still with all that's connected to the leading edge of the impact site, not much transfer. | ||
| This bend must have happened when the leading edge of the lamp end section hit the floor and both sides were put out. The piece closest to that location was quite thin and anything off straight will affect them. |
|
|
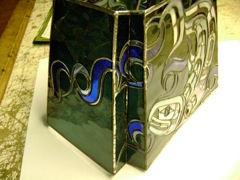
| The opposite side, same transfer, same failure. | ||
| Most of the bigger breaks have been numbered for template registers. |
|
|
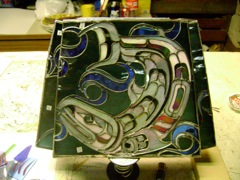
| Each piece that is to be replaced is numbered and prepped for removal. | ||
| All the pieces numbered are of the same color code. For this type of lamp, the background sections are larger areas affected, so fixing the pieces next will be more manageable. |
|
|
| Happily, minor damage on this site. | ||
| Opposite end of the impact site, but the damage to the two largest areas is quite apparent. |
|
|
| Furthest corner from the impacted area and minor tip failures. | ||
| Opposite face plate has only slightly more failures, all on pieces where anything other than absolutely straight will be noticed. |
|
|
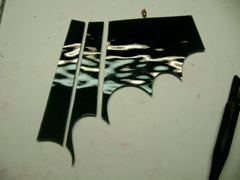
| Large upper piece is taken out. | ||
| Superstructure taken off and straightened for reapplication. |
|
|
| Exposing the other wise, hard to get at,inside edge, the affected piece is removed, exposing the support rods down all of the corners. | ||
| Each area is prepped for new pieces to be installed. |
|
|
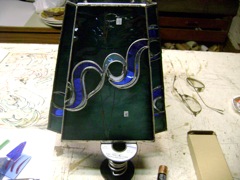
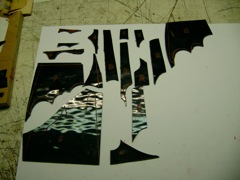
| All the affected background pieces of water blue are laid out and cut down as far as hand cutting should take them. The grinding machines have each, their own functions, so let them do there jobs. | ||
| Each piece has a corresponding number of the affected areas. Having the original templates, and knowing that the fits of every piece will fit is a definite asset. |
|
|
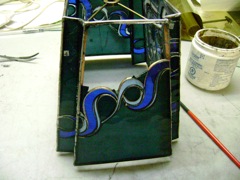
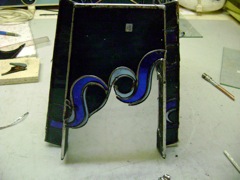
| Superstructure and affected areas are removed and straightened out and the area prepped for new pieces. | ||
| You can see how far off straight the other cross member is from true; that will be addressed like this other exposed area. |
|
|
| You can see how far off straight the other cross member is, that will be addressed like this exposed area was. | ||
| Face plate prepped for repaired super structure and glass. |
|
|
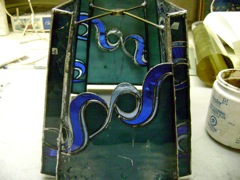
| Superstructure and cut, ground, and foiled glass are made ready for insertion. | ||
| Superstructure and glass installed on face plate. |
|
|
| Having the templates assure such complicated shapes will fit. | ||
| After top elements have been installed, the areas just below the water line can be done, as well as the connecting edge elements. |
|
|
| Edge piece installed. | ||
| End piece cut, ground and foiled for insertion. |
|
|
| End area prepped for a new piece. | ||
| Bottom end piece and superstructure replaced. |
|
|
| Small fin detail removed for replacement. | ||
| Minor tip damage removed. |
|
|
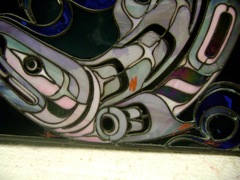
| Two very difficult scale details were removed, again having the original templates were of great importance, other wise you could be going back and forth to the right grinding machine to get that perfect fit. | ||
| Another tiny tip break removal. |
|
|
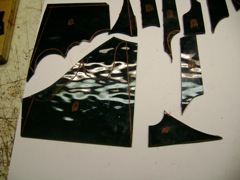
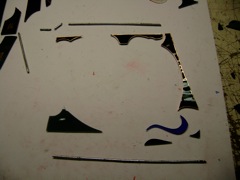
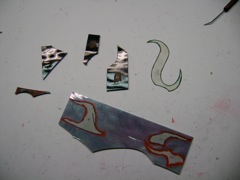
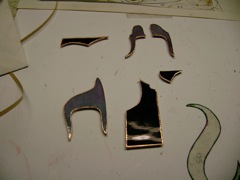
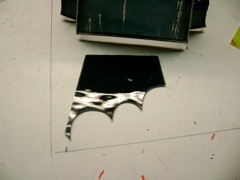
| Complicated shapes laid out on the proper color and direction. | ||
| The multiples of scores required to remove such a shape in such a congested and vulnerable location. |
|
|
| One piece cut and ground, the two pieces beside are ready for grinding. | ||
| Cut, ground and foiled, ready to be installed. |
|
|
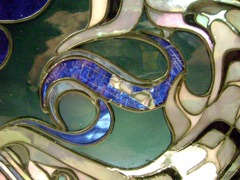
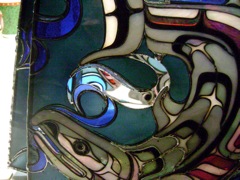
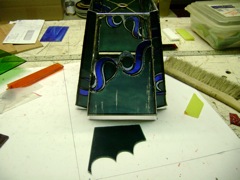
| A perfect fit of very unusual shapes. | ||
| The water element is removed and prepared for a new piece without affecting that tiny accent connected piece. |
|
|
| The final fin element is positioned for soldering. | ||
| The last water element is removed |
|
|
| The last piece cut and ground to size. | ||
| After this piece was installed the repair, that couldn't be done, according to any studio the client went to, is completed. |
|
|